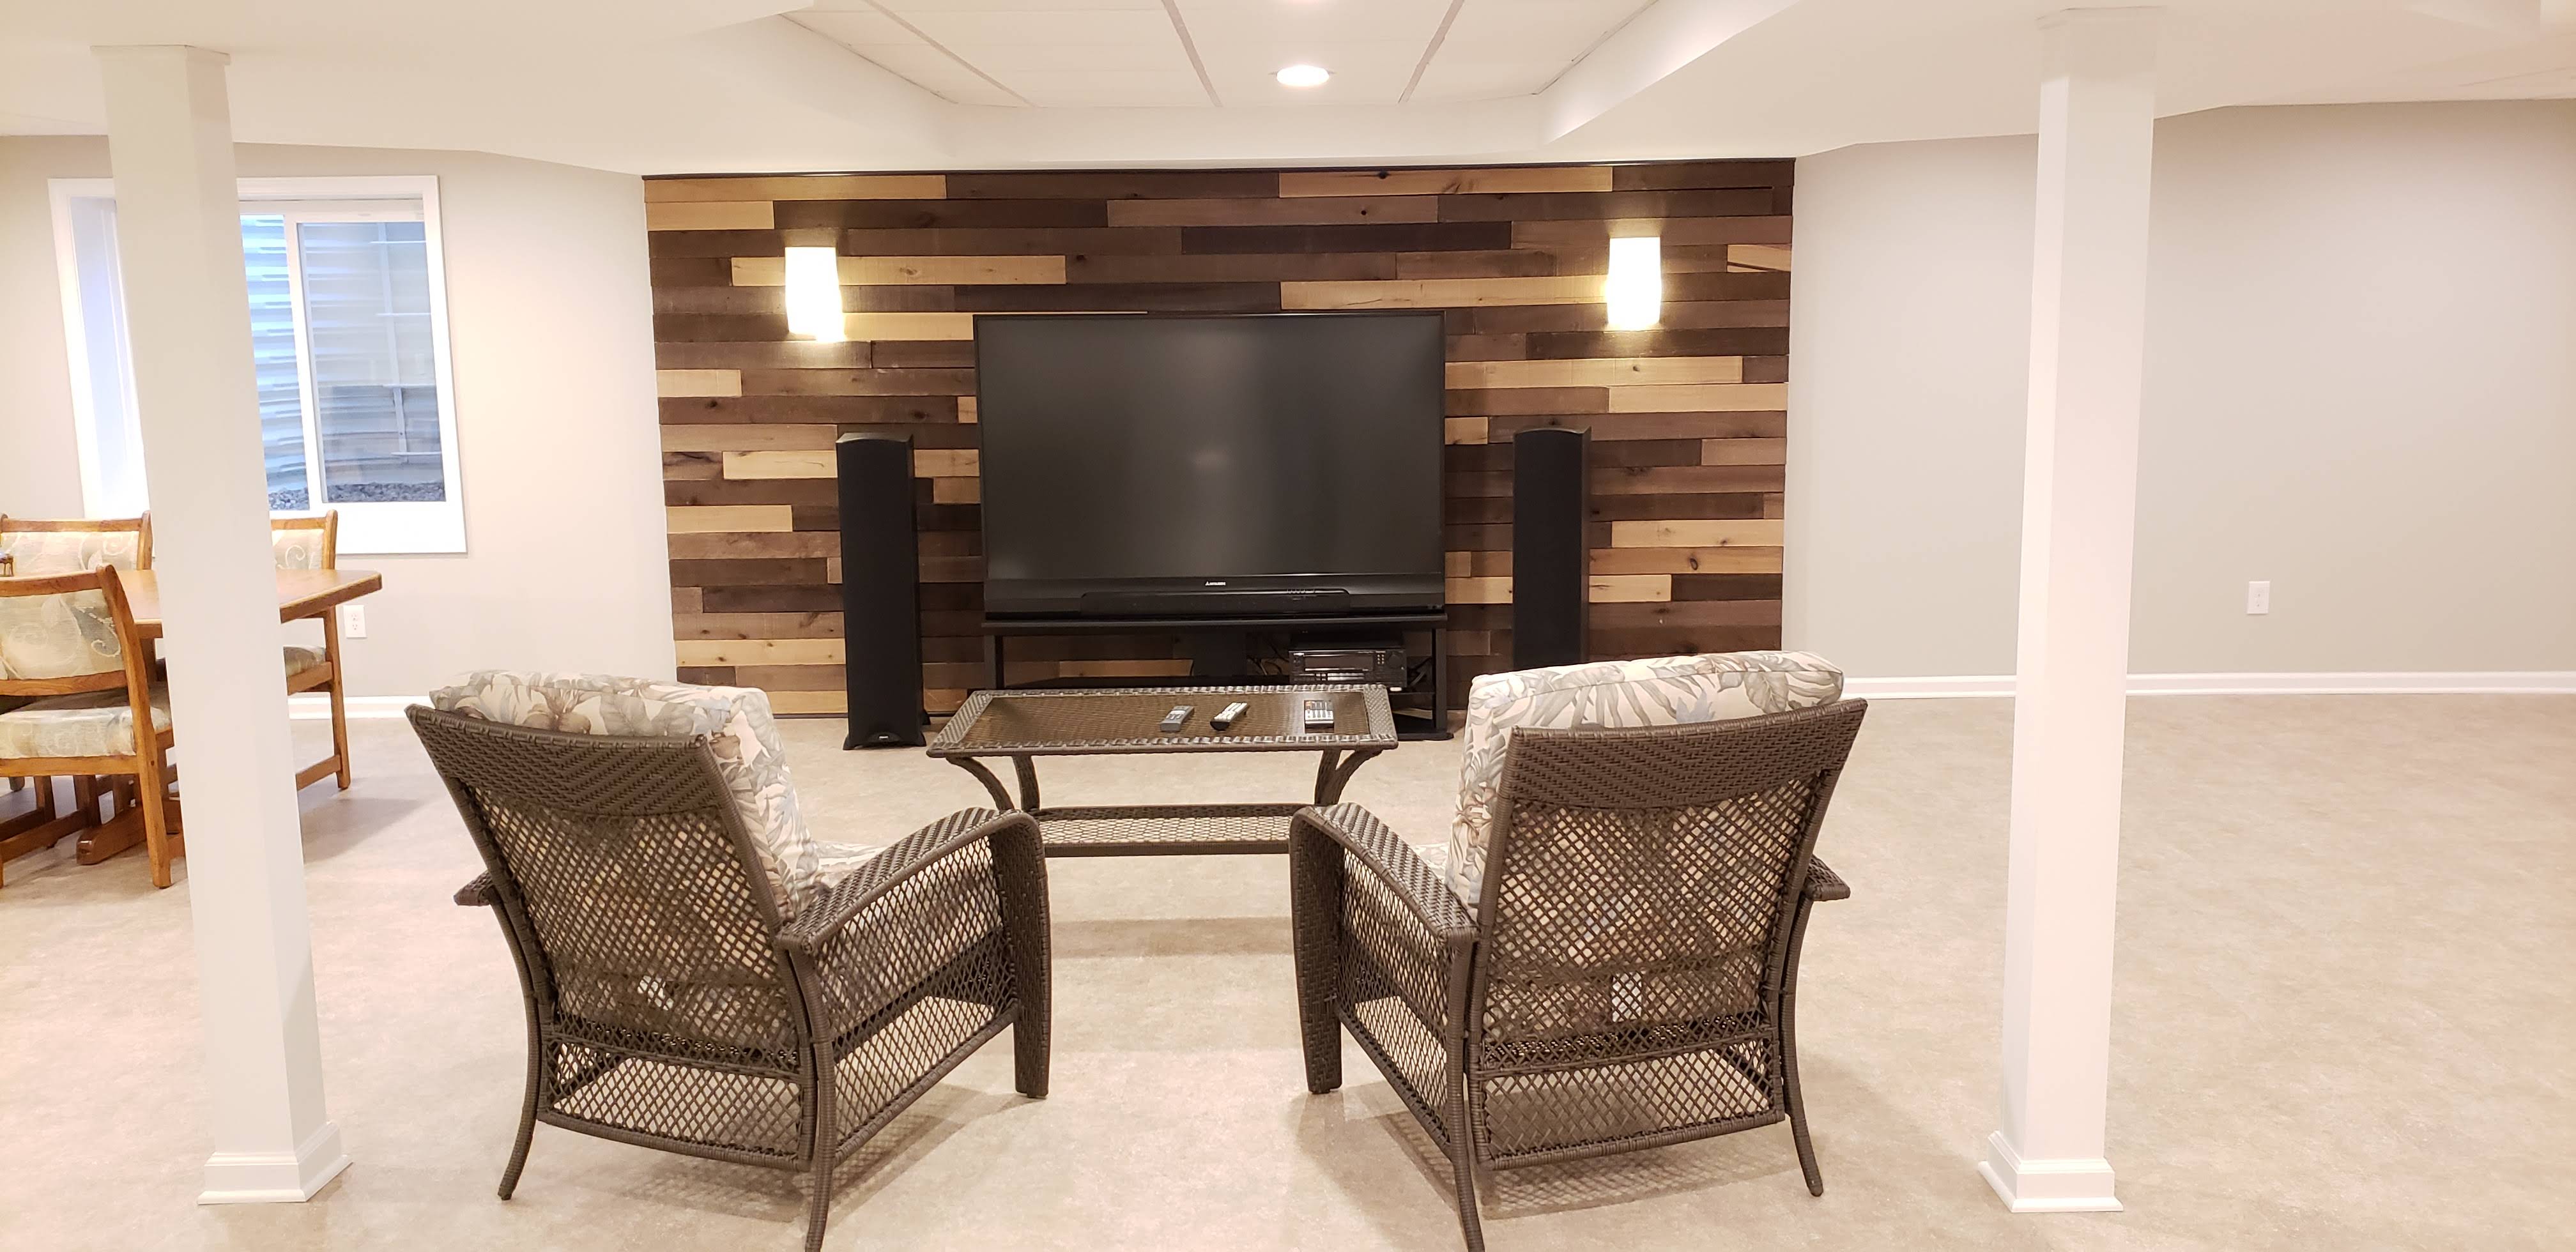
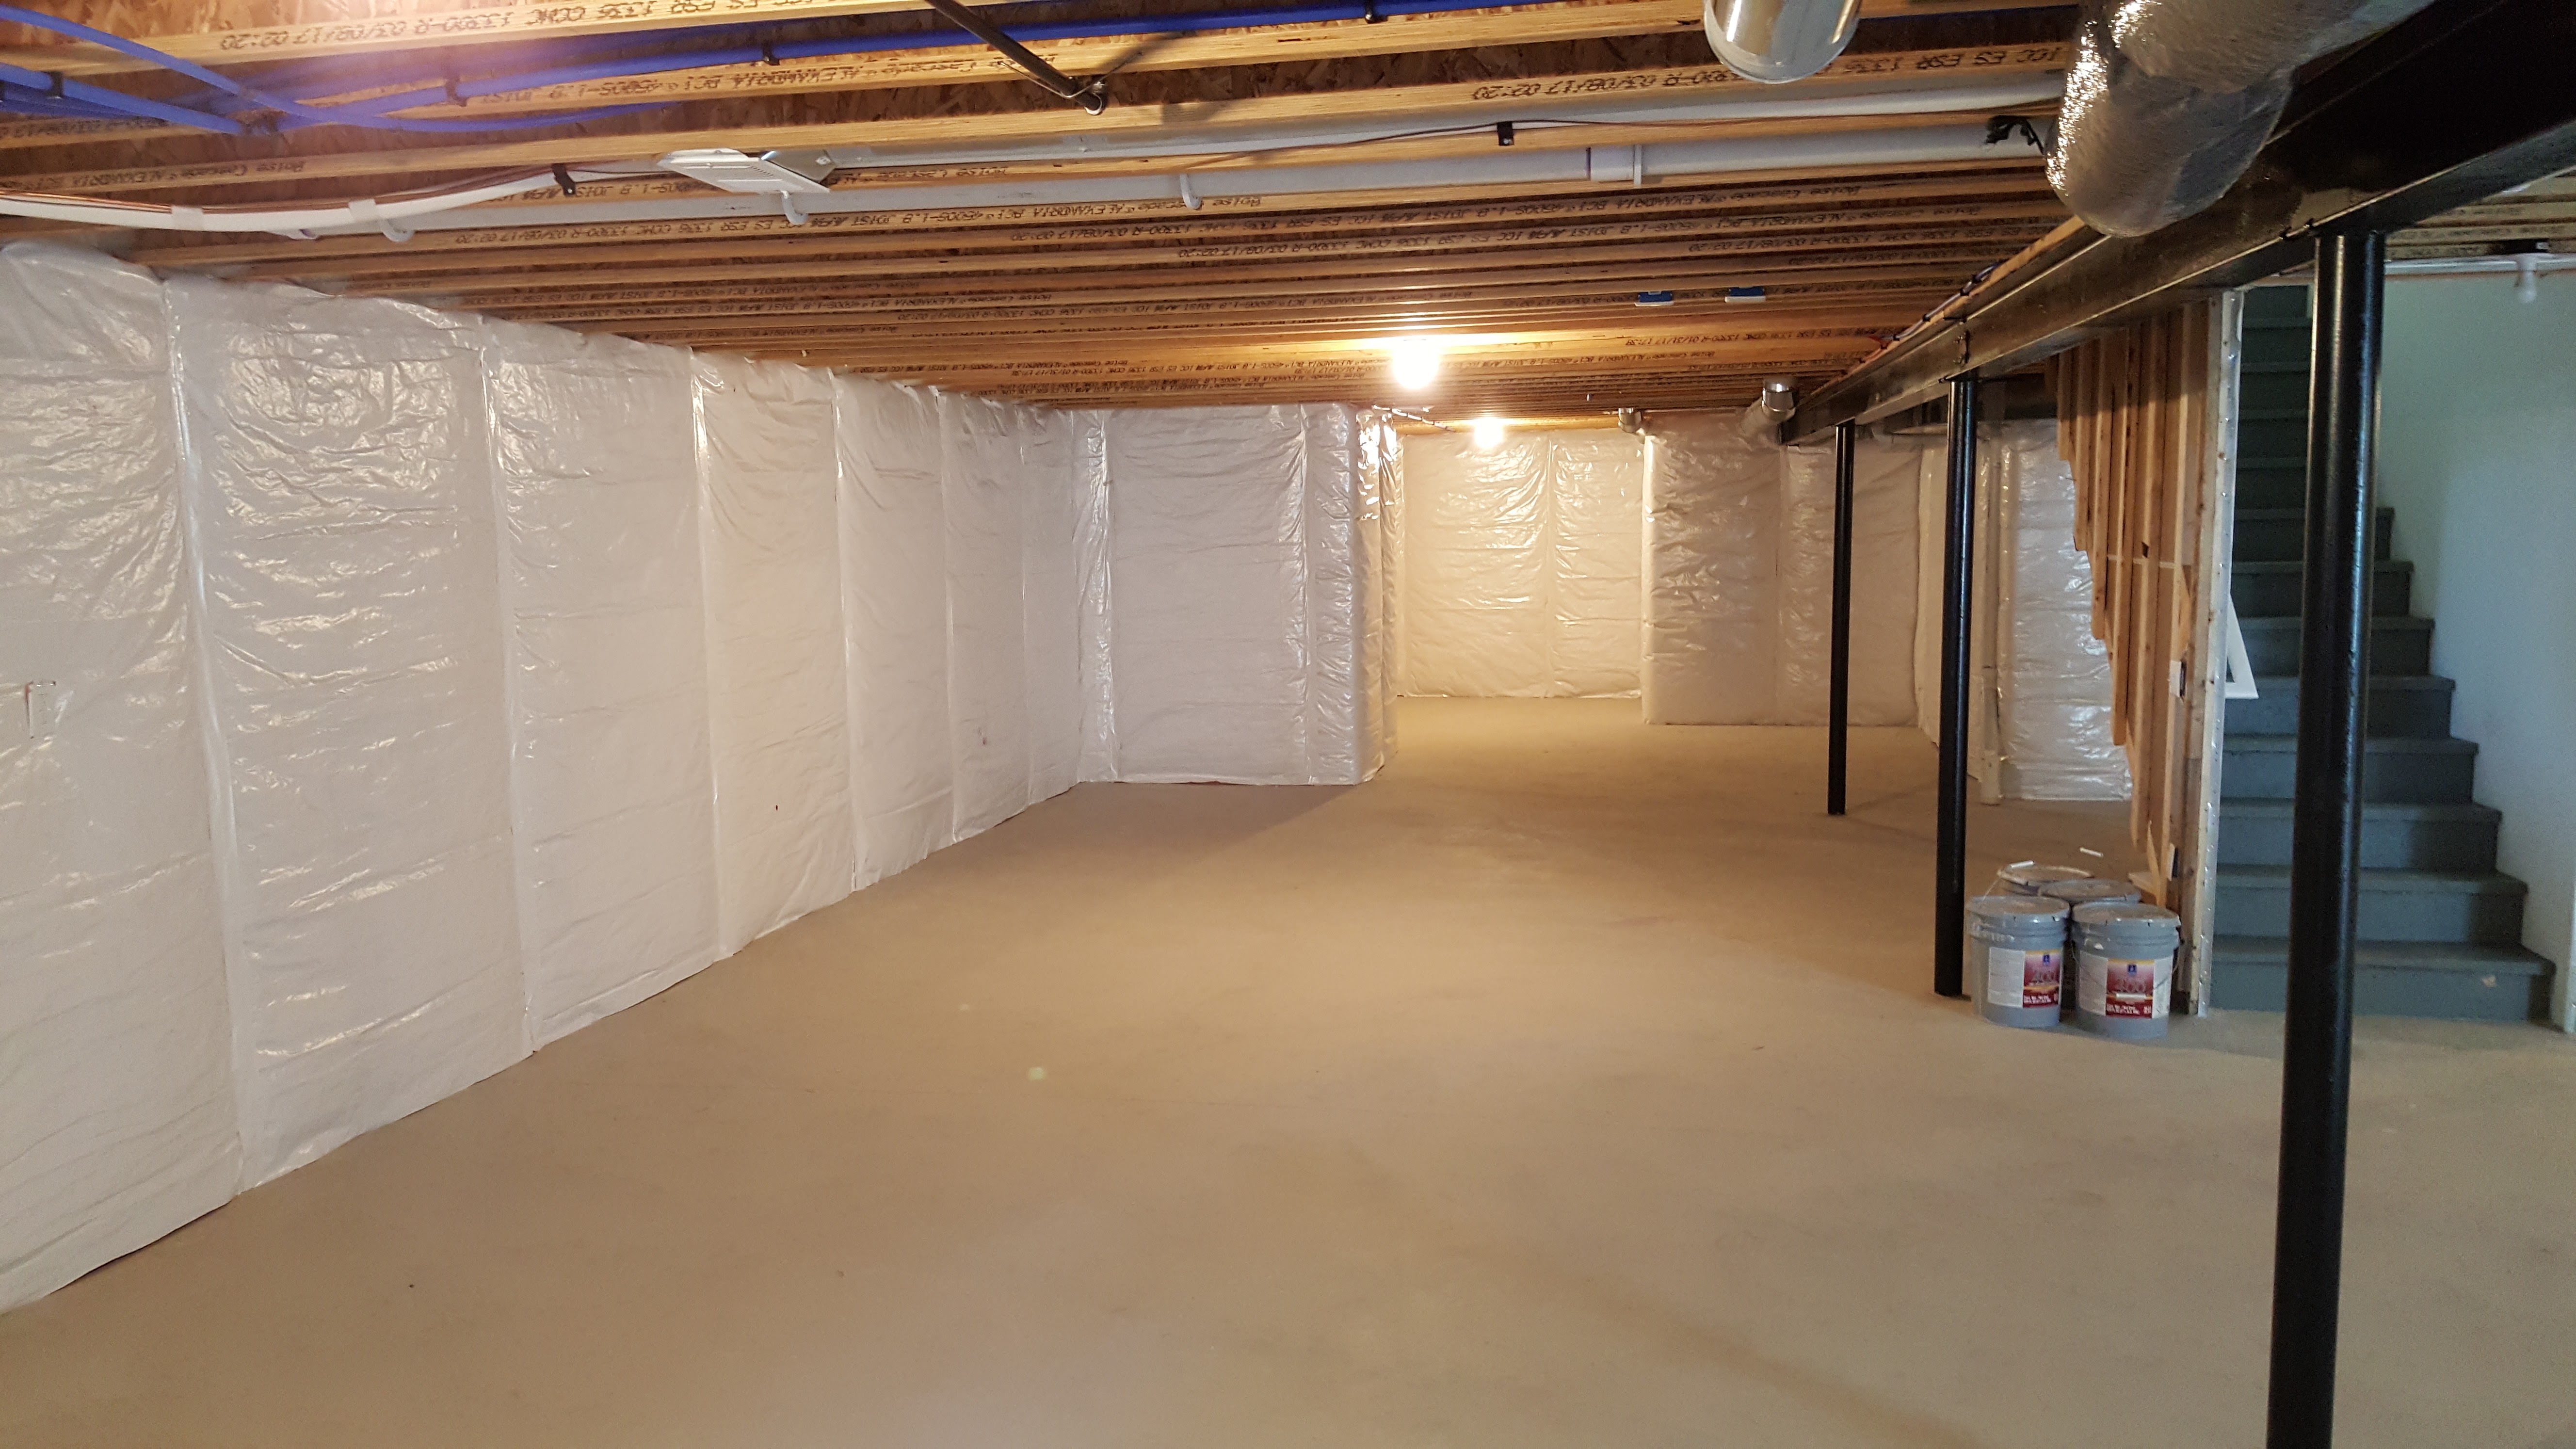
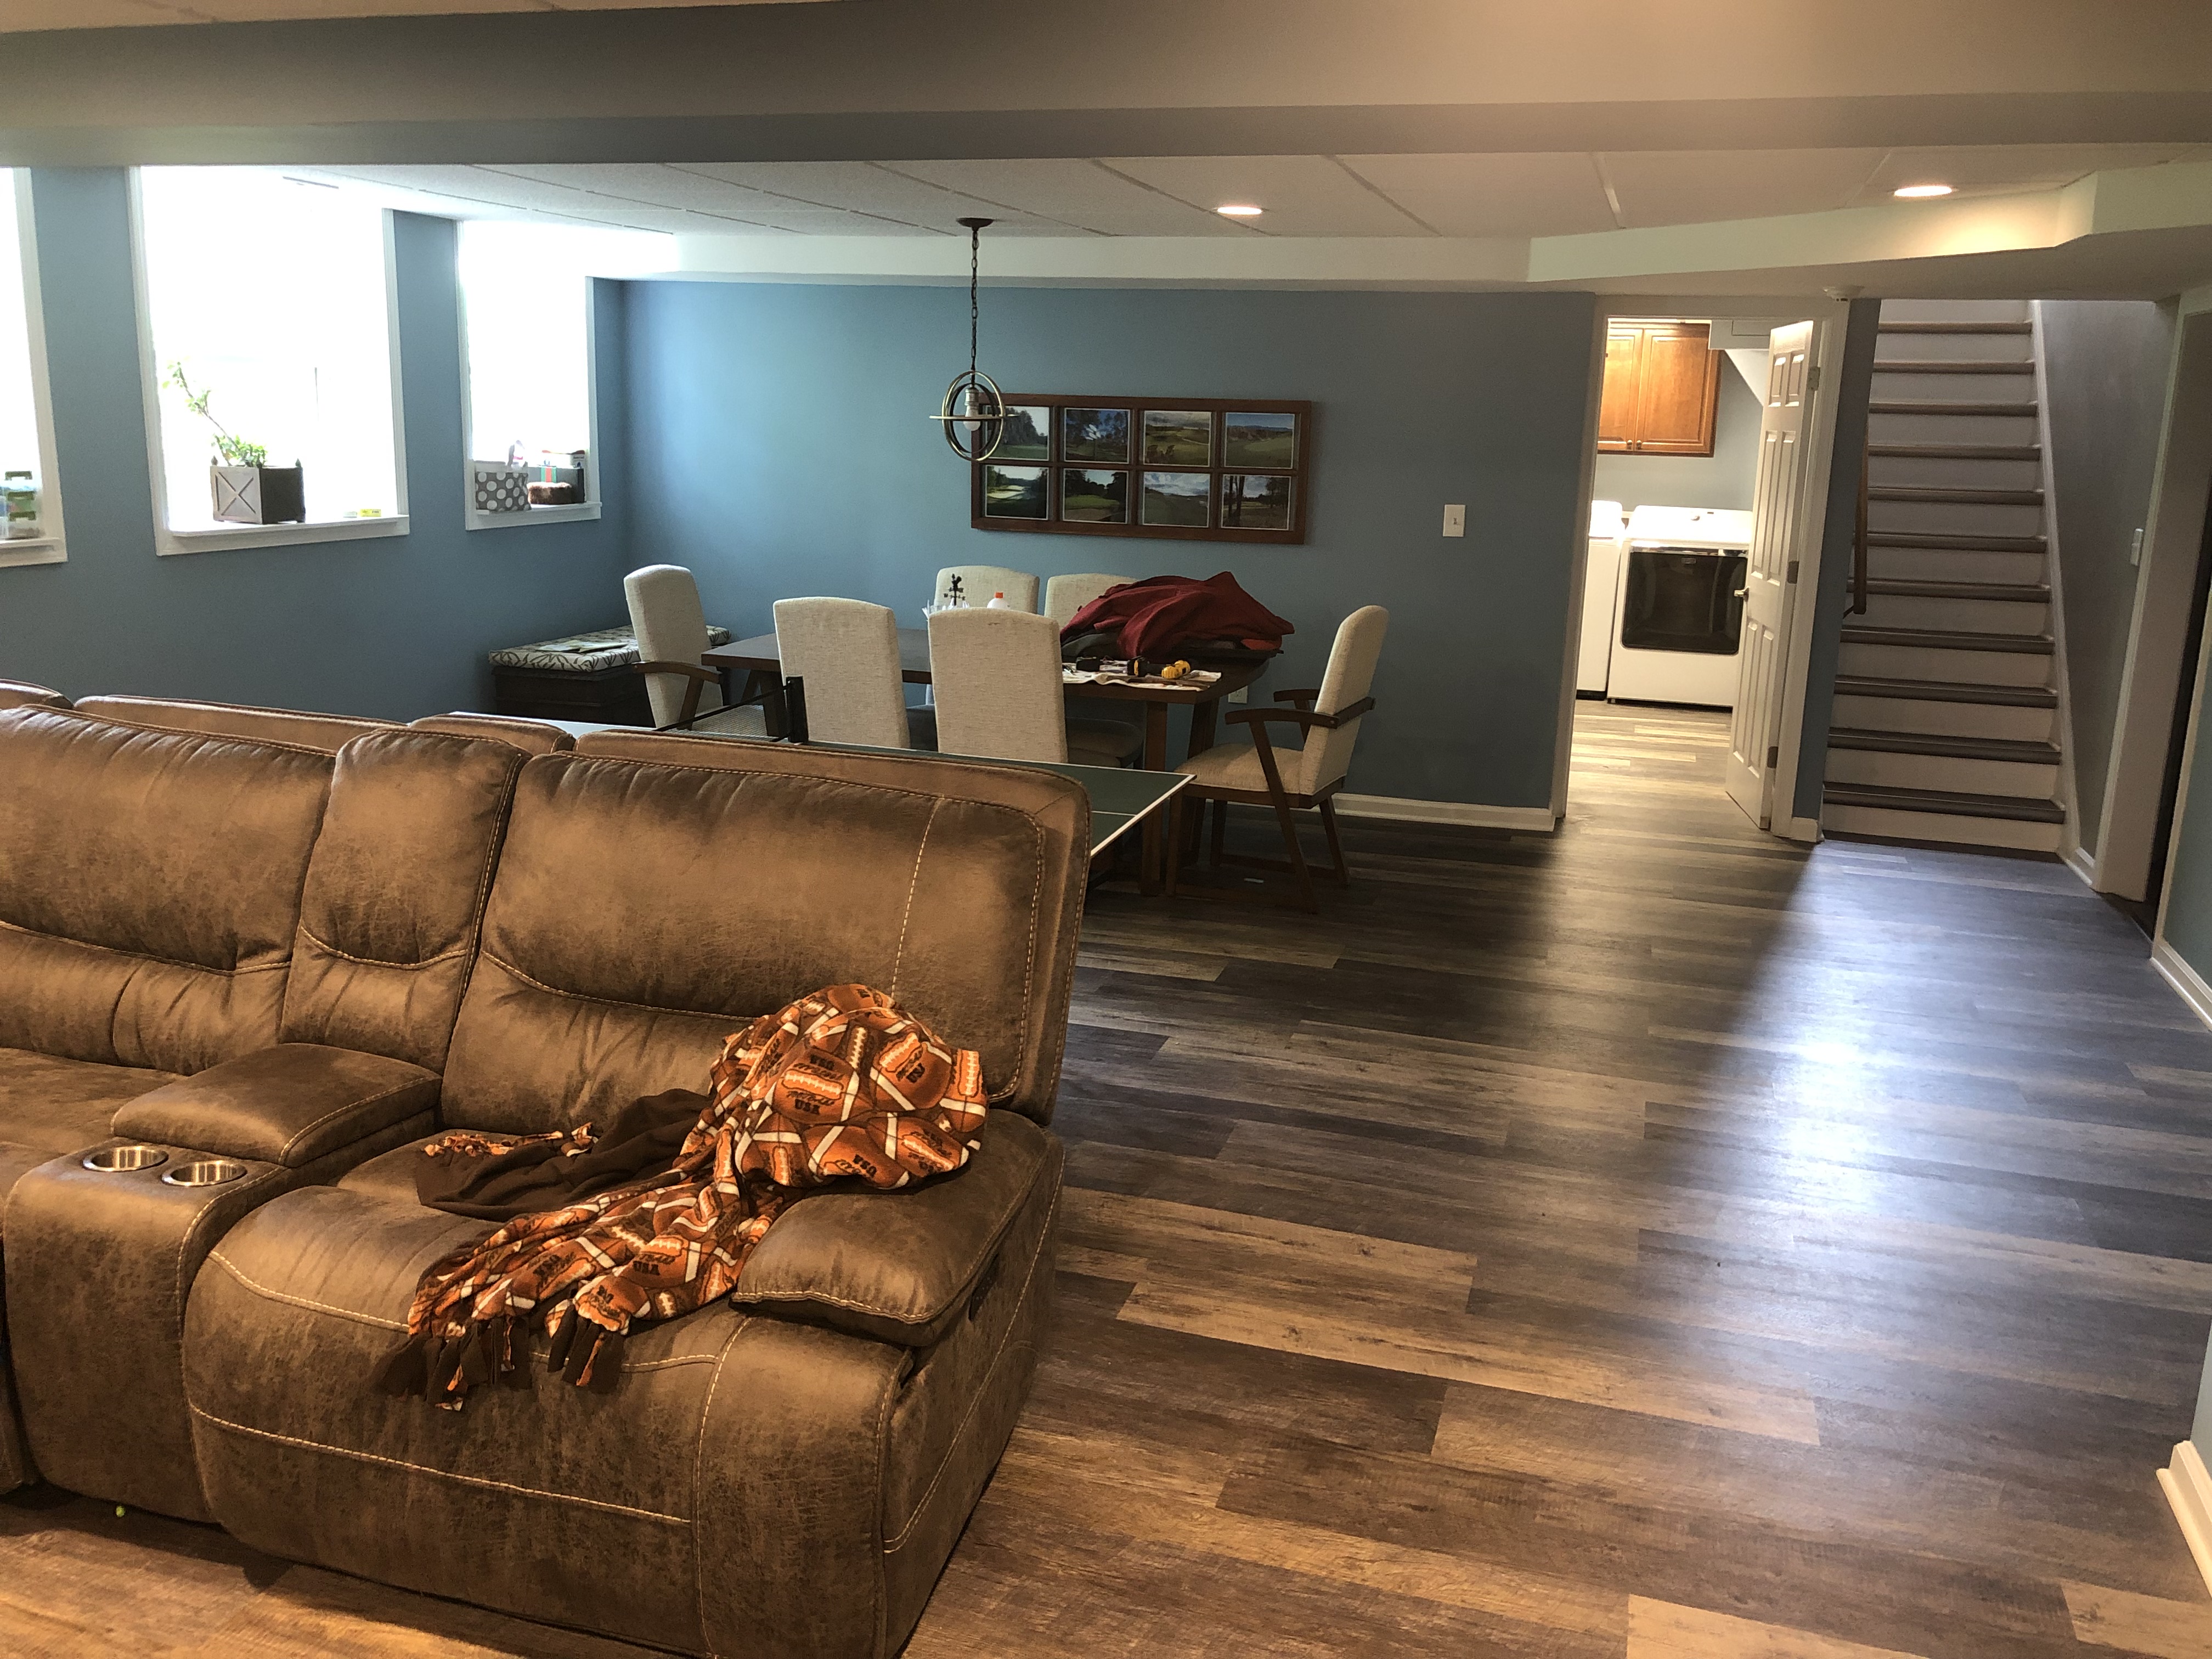
Homeowners often choose to maximize their living space through a basement finishing and remodeling project. It is a cost-effective option that enables you to add a bedroom, gym, studio, home office, or man’s (or woman’s!) cave without needing to buy a bigger house or add an extension.
Finishing your basement is crucial to make the most of an unused and unattractive space! It’s important to note that a finished basement can increase your house value. Indeed, a finished basement is an expected commodity on the property market. It can drive ROI when you get to sell your home. The average return rate for a basement finishing in Macomb MI is 79%, which means that you receive $0.79 back for every $1 you spend during the remodeling project.
How do you get started with a basement improvement project? Our team of experts at Stonik Services has prepared a step-by-step guide to basement finishing. We’re based in Macomb, Oakland, and Wayne counties in Michigan. Therefore, we’re more than happy to provide support for our clients who need to proceed with basement finishing in Macomb and around.
The guide is designed as a DIY resource for confident home crafters. We strongly recommend entrusting professional remodelers with some of the basement finishing steps for best results. Not sure if you can do it alone? Feel free to get in touch with our Stonik Services team if you prefer to let a professional contractor do the job.

How long should you plan for a basement finishing project?
Our basement finishing clients in Macomb Township know that it is a time-demanding remodeling project. The whole project can take 4 to 8 weeks, depending on the size and condition of the space. This also includes the necessary administrative steps you need to take before starting the process and all required waiting times. We can’t emphasize it enough: Finishing a basement isn’t a remodeling project that you can rush. If you skip steps to speed up completion, you are likely to make mistakes or put yourself in a spot of trouble.
How much should you budget to finish a basement?
As a rule of thumb, you can expect to spend $25 to $50 per square foot to finish a basement. However, you also need to consider additional costs designed to enhance your ceilings, floors, and walls. For example, a typical complete basement finishing in Macomb Township can cost around $30,000. This cost includes all finishing details regarding the lighting choice, wall appearance, ceiling, and flooring investment. Understandably, flooring, walls, and ceiling options differ dramatically between projects and will determine your budget.
How much does it cost for basement remodeling?
Basement remodeling can be used interchangeably with basement finishing. However, you need to finish your basement before you can remodel it. A typical project is likely to include both elements, which is where costs can be driven up. Yet if you are working with a finished basement that only needs remodeling, this will be reflected in your budget.
For this step, we suggest planning for a convenient way to throw out all unwanted materials: Lumber, drywall, flooring, etc. Roll-off dumpster rental can be an excellent idea. It is something you want to organize before starting with your finishing project. In Macomb Township, dumpster rental ranges from approximately $260 to $770 depending on size and location.
Preparing for your basement finishing Macomb Twp., MI project
You may be ready to get on with the work, but the most critical task in basement finishing is the preparation. We like to compare it to cooking a delicious meal. You need to get your ingredients ready and research recipes before you can serve mouthwatering dishes. The preparation work with your basement finishing project is similar. It includes essential administrative steps and all the necessary components of selecting and budgeting for the job.
Obtain a permit
You should never finish your basement without applying for a building permit. Failure to obtain a permit can make things extremely unpleasant and even difficult when you try to sell your home down the line. You are likely to face expensive fees if you try to get a permit once the work is done!
To apply for a permit ahead of your basement remodeling project, you need to apply directly by the Macomb County, MI government website. If you are not based in Macomb Township or surroundings, the building permit is typically downloadable from your local government site. The basement finishing permit application comes at a fee and requires technical specs about the home improvement objectives and flow. If you are working with Stonik Services for the remodeling project, our contractor can fill and sign the application on your behalf.
Manage basement dampness
Most basements have some level of air humidity. If you’re going to transform your basement, you need to get the dampness under control. The last thing you want is to have to sort out water issues in your basement once the project is completed. Waterproofing the area is a non-negotiable step ahead of basement finishing.
Different methods could be applied depending on the severity of your dampness issue. In minor cases, the addition of a dehumidifier can do the trick. Most serious dampness issues can require full basement waterproofing at minimum, which is something that can only be done by a professional.
Understand the materials you need
There is no one-solution-fits-all scenario. The materials you use for the walls, ceiling, and flooring depend entirely on the design you pick. A typical list needs to refer to the insulation solution, the materials for the walls, the ceiling style, the floor, the paint colors, trim style, and the location of your utilities.
Choices need to be made at an early stage of the basement finishing project:
- Flooring: carpet, wood, laminate, etc.
- Ceiling: drop, exposed, etc.
- Walls: plaster, drywall, etc.
They will determine the costs, so make sure you know what you want, and you can budget accordingly.
Buy the tools you need
Even if you’re a master at DIY projects, you can’t get the job done with the right tools. If you are going to finish your basement, you need to invest in the appropriate tools and safety gear.
Some of the things you will need are:
- Utility knife
- Tape measure
- Sawhorses
- Ladder
- Level
- Hammer
- Circular saw
- Caulk gun
- Drill and screws for masonry
- Nail gun
- Gloves
- Goggles
- Dust mask
- Earplugs
Basement finishing step 1: Walls
At this point: you’ve got a permit, your basement is waterproof, you’ve got your tools and materials ready.
You’re ready to start with the work!
Insulation installation
Figuring out the best insulation option depends on many factors: Your environmental choice, the ease of installation, the costs, and safety protocol. Some insulation solutions are unsafe to handle without professional equipment and specialist training. For DIY insulation, polystyrene foam is the best solution.
You can proceed wall by wall. You will need to repeat all the steps until each wall is insulated.
- Measure the space from floor to ceiling. Remove ¼ inch from all sides to obtain the correct size and cut the insulation sheet.
- Check the sheet fits: Hold it against the wall to be sure, as there is still time to fix mistakes during this stage.
- Apply the insulation adhesive per packaging instructions.
- Press the sheet against the wall according to the instructions on the adhesive pack.

Once the room is covered, use the caulk gun to fill the seams between the insulation boards, ceiling, floor, and corners.
Frame the walls
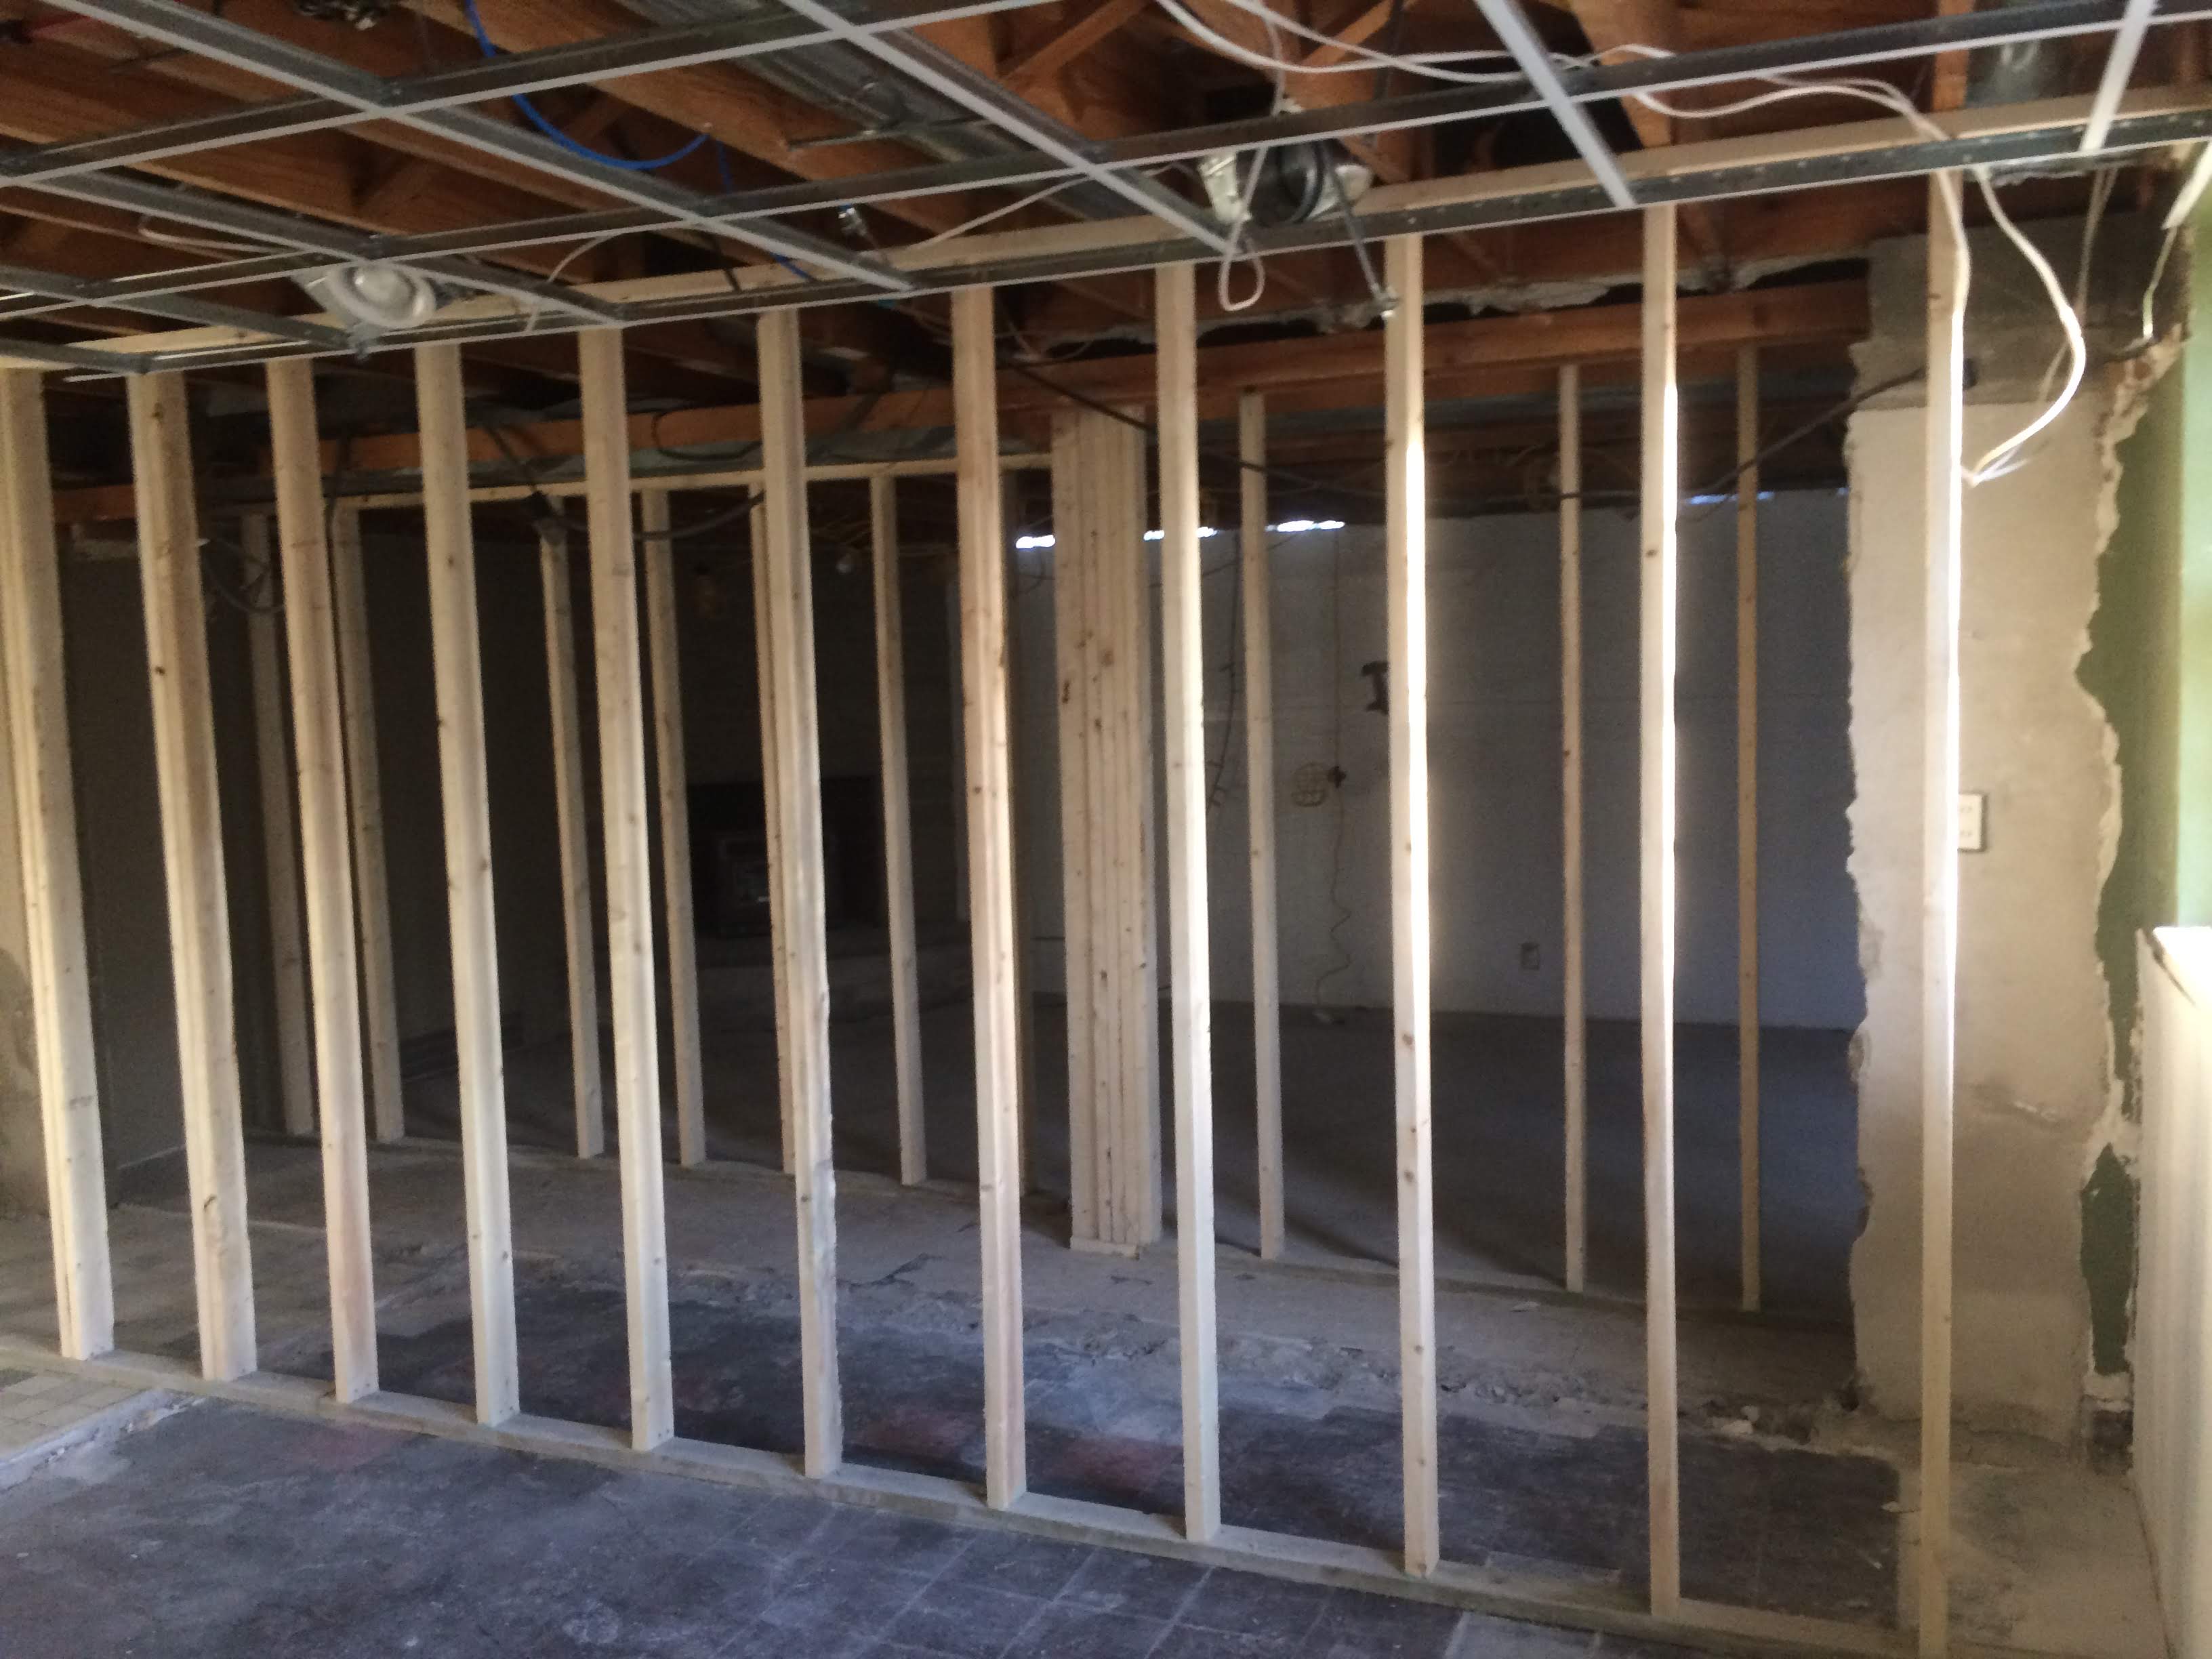
This time-consuming step can be difficult if you’re not experienced. Even if you want to DIY your basement finishing in Macomb MI, it can be a good idea to reach out to a general contractor for this step.
The steps are provided for one wall and need to be repeated to cover the whole basement:
- Draw a line on the floor, 4” away from the walls. The line must intersect any walls at a 90° angle.
- Measure your wall and cut your 2×4 accordingly. Do this twice for each wall as these are your top and bottom plates that will hold your studs.
- Mark the plates every 16” for stud placement. Make sure to extend the line to the sides as it will be hidden once the stud is placed on top of it.
- Place your bottom plate so that it aligns with the line drawn from #1. Secure with masonry drill and nails. Use your 16” marks for supporting nails.
- Lay the top plate in the same way. For the top plate, you need a nail gun as you’re not drilling through cement.
- Check if plates are level and add shims if required.
- Measure the space between your bottom and top plates and cut studs accordingly.
- Install the studs (you will use the 16” marks for this). This step requires a nail gun to secure the stud on each side with a 45° angle nail.

Utility installation
Installing plumbing, air ductwork, and electric systems needs to be done by a certified professional. It isn’t a step that you can DIY, both for your safety and insurance purposes.
Close up your frames
Now, you can add your drywall. They can hang either vertically or horizontally, based on preference.
- You will need to measure and cut each drywall section so it ends on a stud.
- Secure your drywall panels to the stubs with drywall screws. The section that covers the utilities needs to be marked and removed ahead of installation.
- Once the drywall is placed on each side of the room, you can finish the seams and cover the screw head with drywall mud.
- Apply drywall tape to cover the seams.
Paint the walls
Finally, this is the most straightforward step. You only need to sand the areas with drywall mud for a smooth finish. Remember to apply a primer coat before painting.
Basement finishing step 2: Ceiling
At this point, you need to decide which type of ceiling you want:
- Open ceiling for an industrial look
- Drop-ceiling for practical access
- Drywalled ceiling, a popular option
Open ceiling
This guarantees an easy finish as it keeps the beams and pipes visible. However, you can give your ceiling a clean and smooth feel with a dark coat of paint, ideal for masking cables and pipes.
Drop-ceiling
Every drop-ceiling requires an installation kit that lets you install a second ceiling underneath your structural ceiling. Homeowners choose this option to gain easy access to utilities that are attached to the structure and kept out of sight.
A drop-ceiling uses interlocking L-channels and T-channel frames and tiles. The process is easy:
- Add L-channel frames on the walls
- Install T-channel frames on floor joints and connect to the L-channel
- Add the T-channel cross frames
- Install the tiles
Drywalled ceiling
A drywalled ceiling can be a challenging installation as gravity is working against you. The steps are the same as installing drywall panels on your walls.
Basement finishing step 3: Flooring
The most popular flooring solutions for a finished basement include laminate and carpet. But you can choose anything that suits your project.
Install your subflooring
The subflooring offers insulation from the slab of cement. It is a necessary step to prevent a cold and damp floor from making the room uncomfortable.
Use a self-leveling compound to create a flat surface by filling dips deeper than 3/16-inch. Once the surface is dry, check that your dips are level. You will need to repeat the process until they are. Secure your insulation sheet to the cement with adhesive. Plywood sheets are added on top of the insulation and secured with masonry drills and concrete screws.

Flooring
Follow the instructions for your specific floor. It can be a good idea to reach out to professional contractors for that step for a smooth finish.
Why work with us for your basement finishing in Macomb
The Stonik Services team is at your service to help you. We can provide necessary support for complex tasks, or we can manage the whole basement remodel project on your behalf. Whether you don’t feel confident in your DIY skills or you don’t want to invest in professional tools, call (586) 872-3532 to discuss your basement finishing needs in Macomb Township and around!
